I L♥VE vintage light shades. Whenever I see them cheap at garage sales or the ReStore, I buy them. These shades cost between fifty cents and a dollar each.
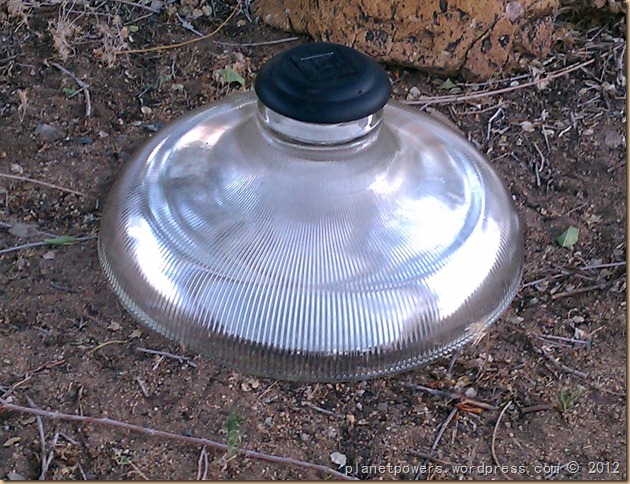
I knew I wanted to repurpose them in some way and this is what I came up with.
I bought some inexpensive plastic solar lights ($10.11 for 8 lights) from Amazon and just used the solar lids. The lid has the solar panel, light bulb and battery compartment.You could also buy outdoor solar lights at the dollar store, but they never have them at mine. In the past, I’ve used old solar lids off of broken/weathered lights. It’s easy and inexpensive to replace the batteries if they’ve stopped recharging.
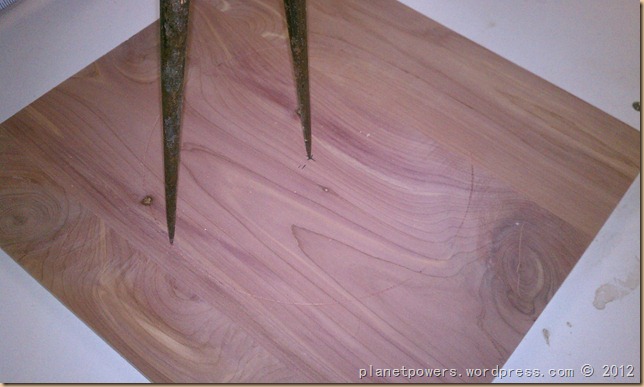
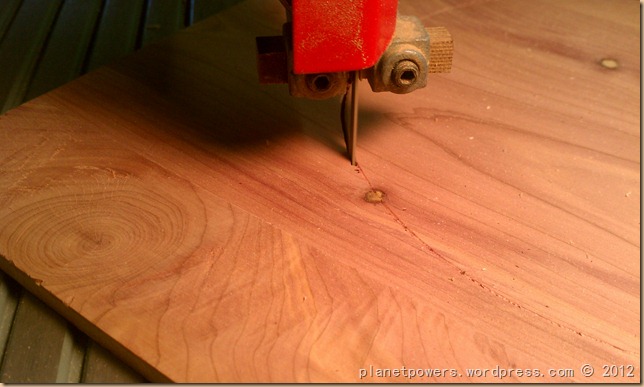
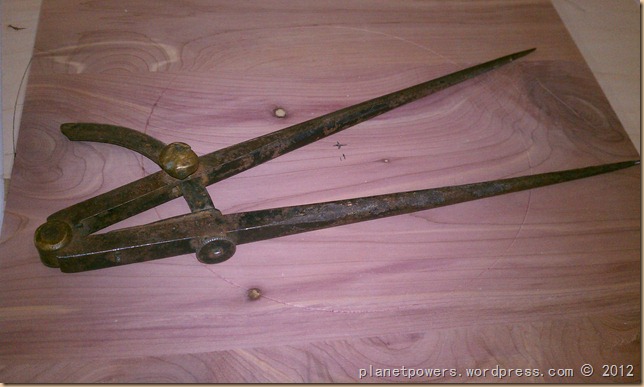
I measured the bottom inside of the shades, then used a compass to mark circles on scrap wood and cut them out on the band saw. They don’t need to be perfect, just approximately the right size, as long as they fit under the shade.
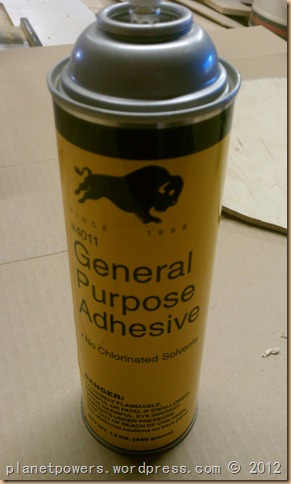
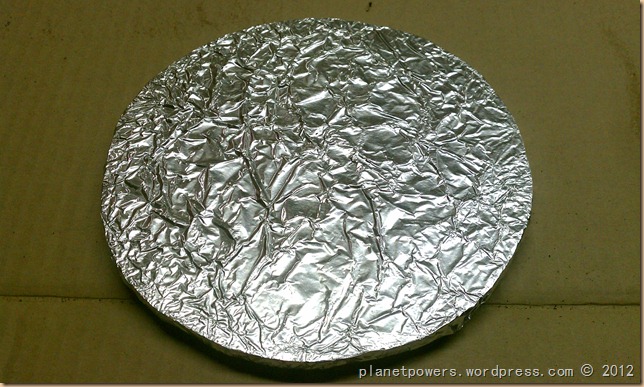
Then I sprayed the wood circles with adhesive and applied some aluminum foil to the circles. You need to spray adhesive both the wood and the foil, then let dry for a few minutes until tacky. As you can probably tell, I also recycled some used foil, instead of using brand new. The aluminum foil helps reflect the light off of the soil under the shade.
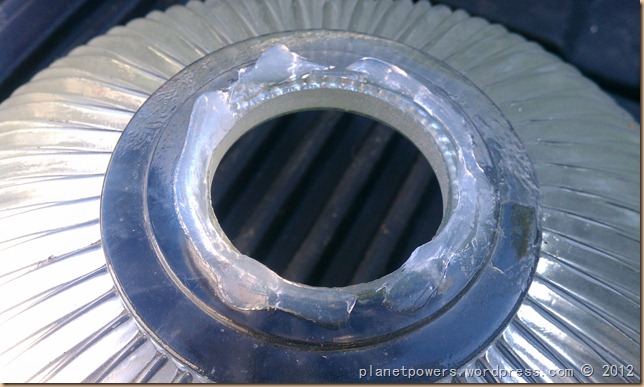
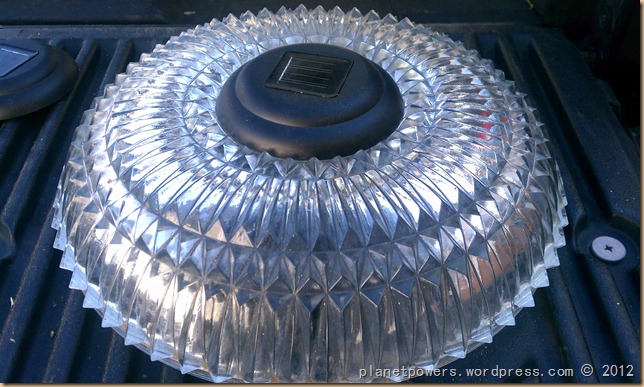
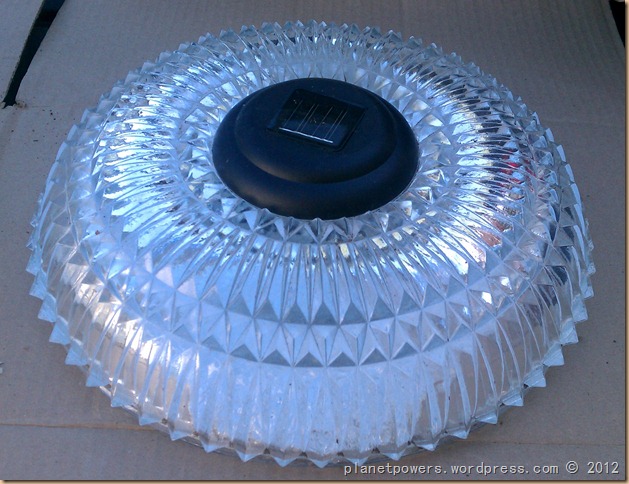
We live in a very windy area, so the caps need to be attached somehow. I applied silicone to the tops of the shades, placed the solar caps on top and weighted them down while the silicone dried. I used silicone so that I would be able to remove the lid when the batteries wear out and need to be replaced.
One of my favorite parts of this project was getting to use an antique compass that belonged to my grandfather!
Place the foil wrapped circles on the ground (foil side up) and place the shade over the circle. The light will reflect off of the foil and light up the shade.
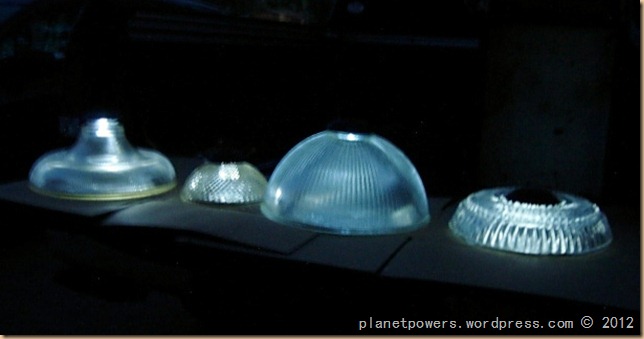
The lights turned out wonderful. I placed them around our yard and near the entrance gate.
They look good during the day and awesome at night!
These DIY solar lights cost me about $8 for all four. $1.26 each for the lights lids and $3.00 for all of the shades. I had everything else in the shop. Plus, I still have four more lids to use in the future.
What do you think? Do you like them?
Vi snakkes! (“See you later” in Norwegian)
Linking up to:







Jun 16, 2012 @ 17:09:14
This is just amazing! I’ve been looking for new shades for some hanging lights–and I’ve limited myself to those that are just the “right” size. You’ve inspired me to think outside the box!
Thanks so much for joining Grace at Home!
Jun 16, 2012 @ 19:37:19
What an awesome idea! Most creative and they look very designer”ish”! Cheers.
Jun 17, 2012 @ 14:27:35
I’ve never seen anything like this! It’s an awesome project! Good job!
Jun 17, 2012 @ 14:51:28
I love this idea! I am going to your pinterest account I hope its there. That way I can have it to show my friends. These will be in my back yard.
Jun 17, 2012 @ 18:22:13
such a great and unique idea! love how big they are!
Jun 17, 2012 @ 19:15:00
Amazing what a little imagination can bring. Thanks for sharing with the newbie party.
Jun 17, 2012 @ 19:41:29
Wow! I’m so impressed. Thank you for sharing this at the Make it Pretty Monday @TheDedicatedHouse. Wishing you a grand evening. Toodles, Kathryn
Jun 17, 2012 @ 20:10:04
Those are so pretty. I like them much more than the plastic ones you see all the time. Very ingenious and crafty of you.
Jun 18, 2012 @ 08:36:55
I love the solar lights AND that you used your grandfather’s compass, as well as his skills.
Jun 19, 2012 @ 07:49:26
This is the grandest idea I have seen today. I have often wished I knew a way to upcycle glass lampshades. So glad I found this linky party. Please visit my neck of the woods if you have the time. I am right in the center of The Beautiful Bluegass State Of Kentucky.
Jun 19, 2012 @ 19:09:50
Pure genius! I am so going to stea…borrow this idea! Thanks for sharing at my party this week! P.S. I am Norwegian on my Mother’s side 🙂
Jun 19, 2012 @ 23:01:14
Wow! Those are fantastic. I can hardly wait to make a few myself.
Jun 20, 2012 @ 03:16:22
Fantastic Idea! I’m hitting the thrift store today to make a couple of my own.
Coming to you from http://youaretalkingtoomuch.blogspot.com
Jun 20, 2012 @ 19:20:32
These are perfect! I’m going to have to try this myself.
I found you at Kammy’s Korner
Jun 28, 2012 @ 06:21:53
how clever! Love your solar shades! thanks for linking to MRL in your post!
gail
Jun 29, 2012 @ 06:19:01
Love this idea!!!! The shades are gorgeous. I am a little confuse about where to place the aluminum foil disk.
Jun 29, 2012 @ 13:50:26
Place the foil wrapped circles on the ground (foil side up), where ever you want to place the lights, and place the shade over the circle. The light will reflect off of the foil and light up the shade.
Jun 29, 2012 @ 21:53:39
great idea!
so pretty, and different.
I have the solar panels that I saved from some old lights…they were plastic and the light shade broke. So I kept the solar panel parts.
Do I have to buy a certain type of battery?
I’ve got a project in mind. If I make it…I’ll link back here!
found this thru Gail @ CaCC…
Pat
Jun 30, 2012 @ 01:15:49
Hi Pat,
Thanks for the comment. I’m glad you like them! Yes, you can buy replacement solar batteries at Lowe’s or Home Depot (near the solar lights). They’re relatively inexpensive and easy to replace. It would be great if you linked your project up!
Thanks!
Kat
Sep 18, 2012 @ 15:41:59
What a neat idea. I would have never thought of that! Thanks for visiting my blog. I hope you are having a good week!
Oct 12, 2012 @ 19:40:30
Oh, my! You are the most creative one! This is amazing and I’m sure all of your neighbors are wondering where they can get theirs! 🙂
Thanks so much for popping in to see me and have a great weekend.
Be a sweetie,
Shelia 😉
Jun 08, 2013 @ 23:29:30
I am really enjoying the theme/design of your weblog.
Do you ever run into any internet browser compatibility issues?
A few of my blog readers have complained about my website not working correctly in Explorer but looks great in Chrome.
Do you have any ideas to help fix this problem?
Sep 30, 2013 @ 17:22:12
Howdy just wanted to give you a quick heads up. The words in your article seem to be running off the
screen in Internet explorer. I’m not sure if this is a format issue or something to do with internet
browser compatibility but I thought I’d post to let you know.
The layout look great though! Hope you get the
issue solved soon. Many thanks
Mar 02, 2014 @ 12:24:25
Doing almost the same thing, but I’m making giant mushrooms with the shades and larger vases. You can put the solar light thru a plastic plate covered with the foil, turn the vase upside down over the light/plate, and silicone the shade to the former bottom of the vase. If you keep the “stem” of the soar light, it can be used to help anchor the ‘shroom in the ground as long as the ground is soft enough to push it fully into the earth. I buy solar lights from the dollar store. Same manufacturer as some from Home Depot!
Apr 22, 2014 @ 13:12:21
If you don’t have a saw or scrap wood, or just aren’t very handy, you could use plates or saucers from the dollar store. Just cover them with foil. Turn them upside down if necessary to keep them from collecting water (if the light leaks).
May 12, 2015 @ 08:44:34
so cute
Jan 14, 2016 @ 15:33:55
What a great idea, now I can make them more decorative and enhance them!
Jun 30, 2016 @ 05:20:17
What kind of silicone do you use?
Sep 13, 2018 @ 06:10:17
These will make great Mother’s Day gifts for my daughters and daughter-in-laws! Thanks for sharing your creativeness with those of us who have none!!
Jan 04, 2022 @ 04:56:18
I use them as planters for succulents.